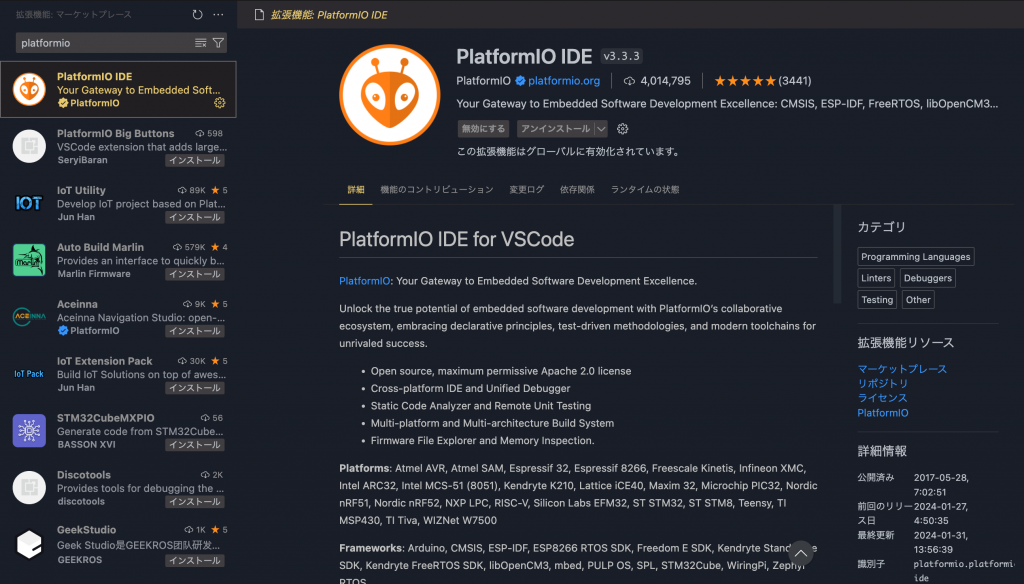
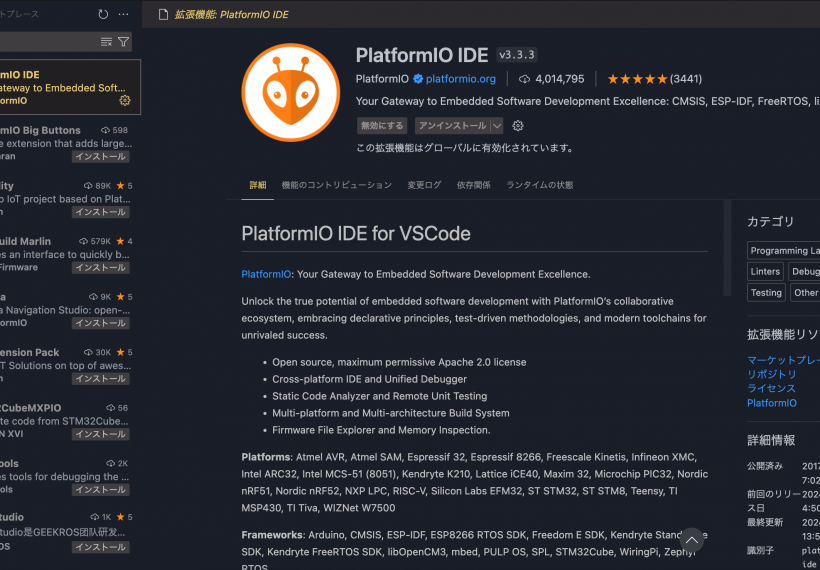
しかし、以前 M5Stack を使用して FreeRTOS を動かす際、その時は試行錯誤した結果、Arduino IDE ではなぜかうまくいかず VSCode で PlatformIO IDE for VSCode を使用する形でうまくいきました。
Unlock the true potential of embedded software development with PlatformIO's collaborative ecosystem, embracing declarative principles, test-driven methodologies, and modern toolchains for unrivaled success. PlatformIO: Your Gateway to Embedded Software Development Excellence - PlatformIO
その時は PlatformIO IDE for VSCode の使用方法を調べるのに個人的に少し苦労したので、Arduino UNO の LED をチカチカさせるプログラムを題材にして、PlatformIO IDE for VSCode の使用方法を備忘録として残しておきます。
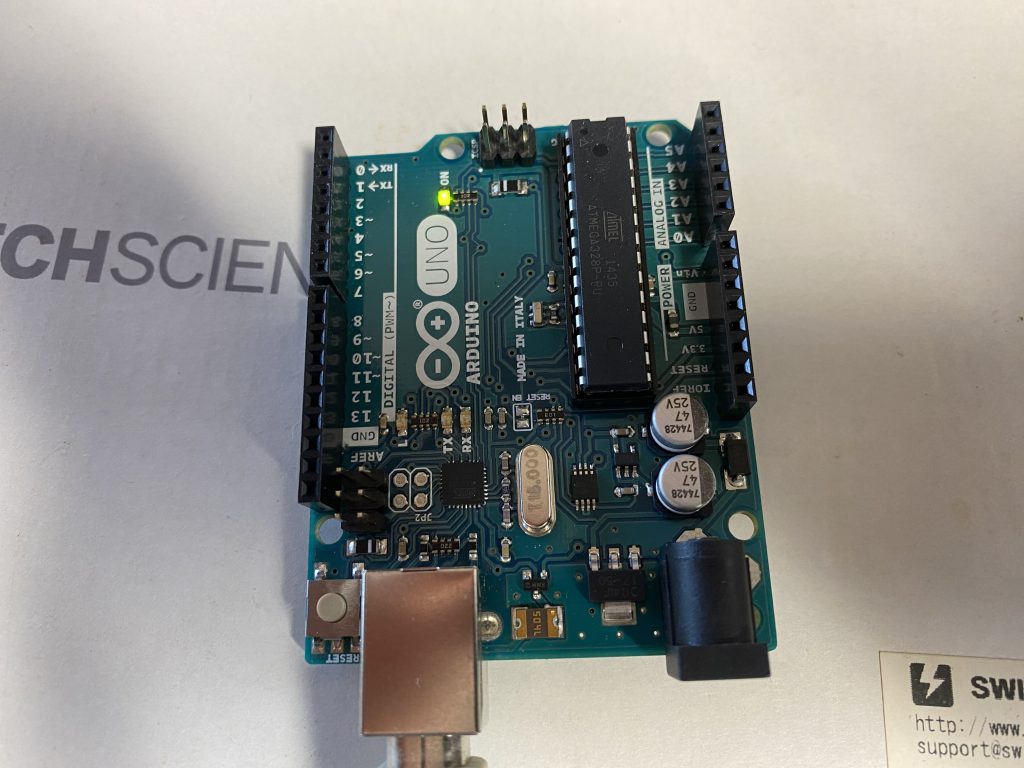
Arduino UNO と PC はすでに接続している前提で進めます。
インストールすると、左側のアクティビティバーに PlatformIO IDE が表れますので、これを選択します。
PlatformIO IDE for VSCode でプロジェクトを作成する
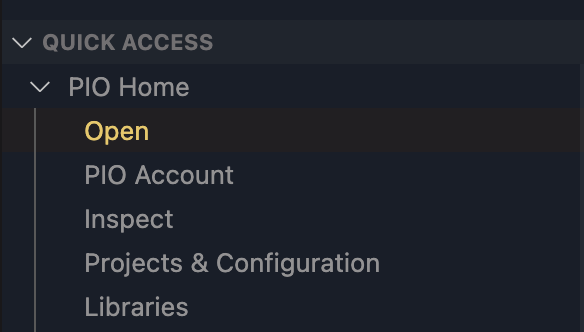
左下あたりに表示される「QUICK ACCESS」から「PIO Home」配下の「Open」を選択します。
PIO Home の画面が表示されるので、「Projects」を選択して、「Create New Project」をクリックします。
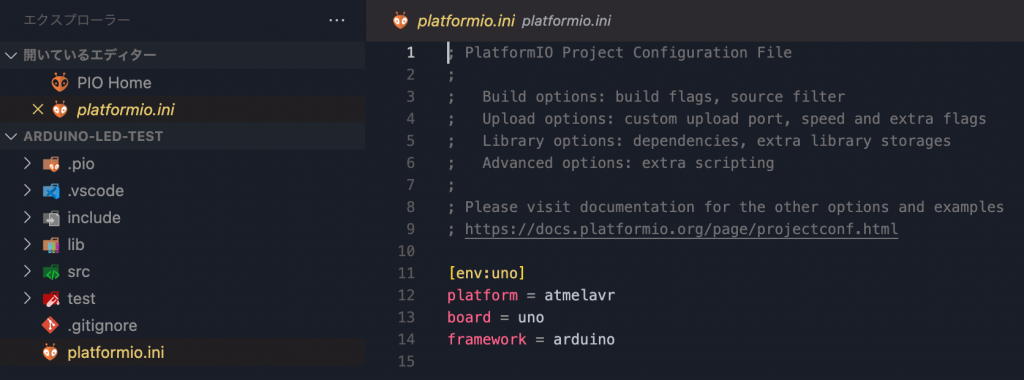
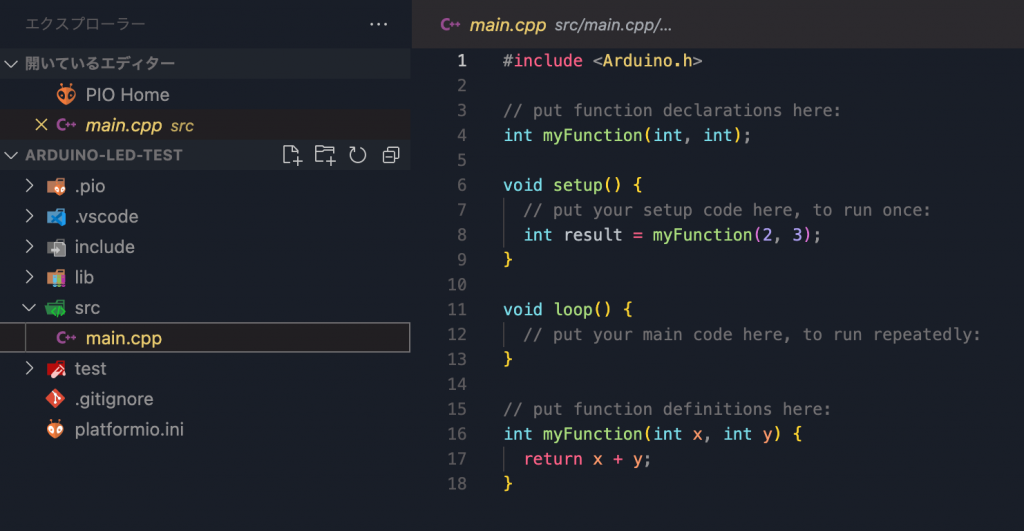
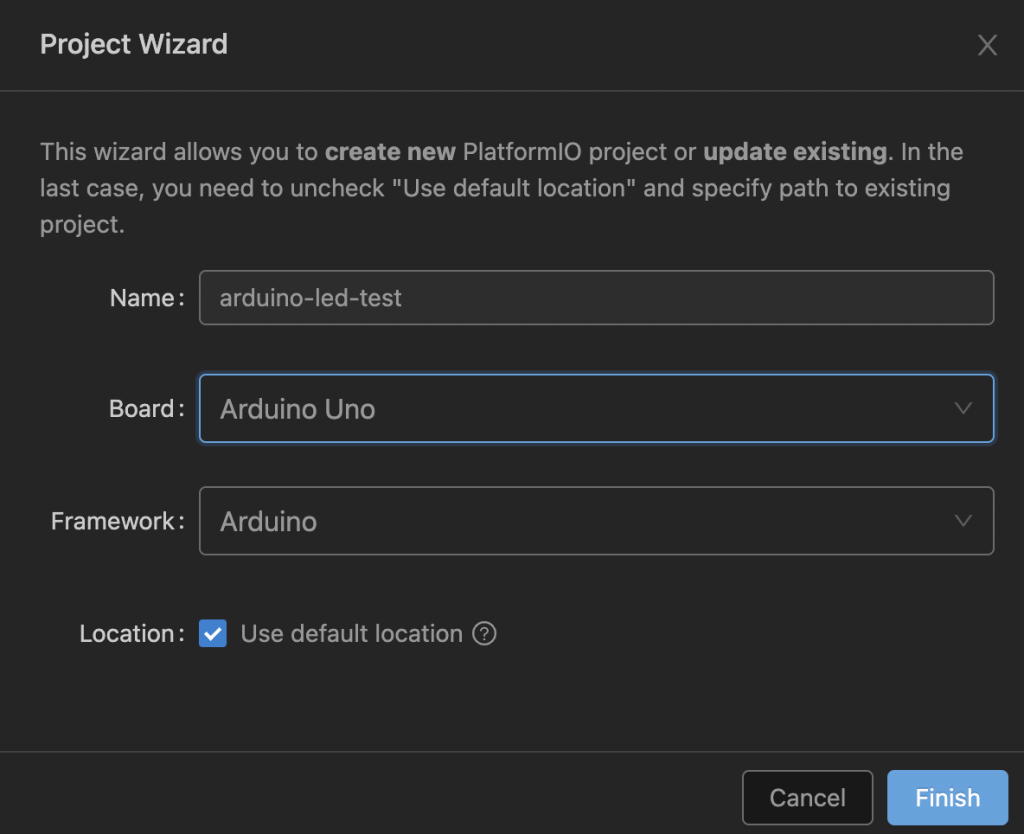
Project Wizard が表示されるので、プロジェクト名と Board、そしてフレームワークを選択して「Finish」でプロジェクトを作成します。